(FRANÇAIS PLUS BAS)
Grafting in pattern - La technique du Grafting en respectant le motif
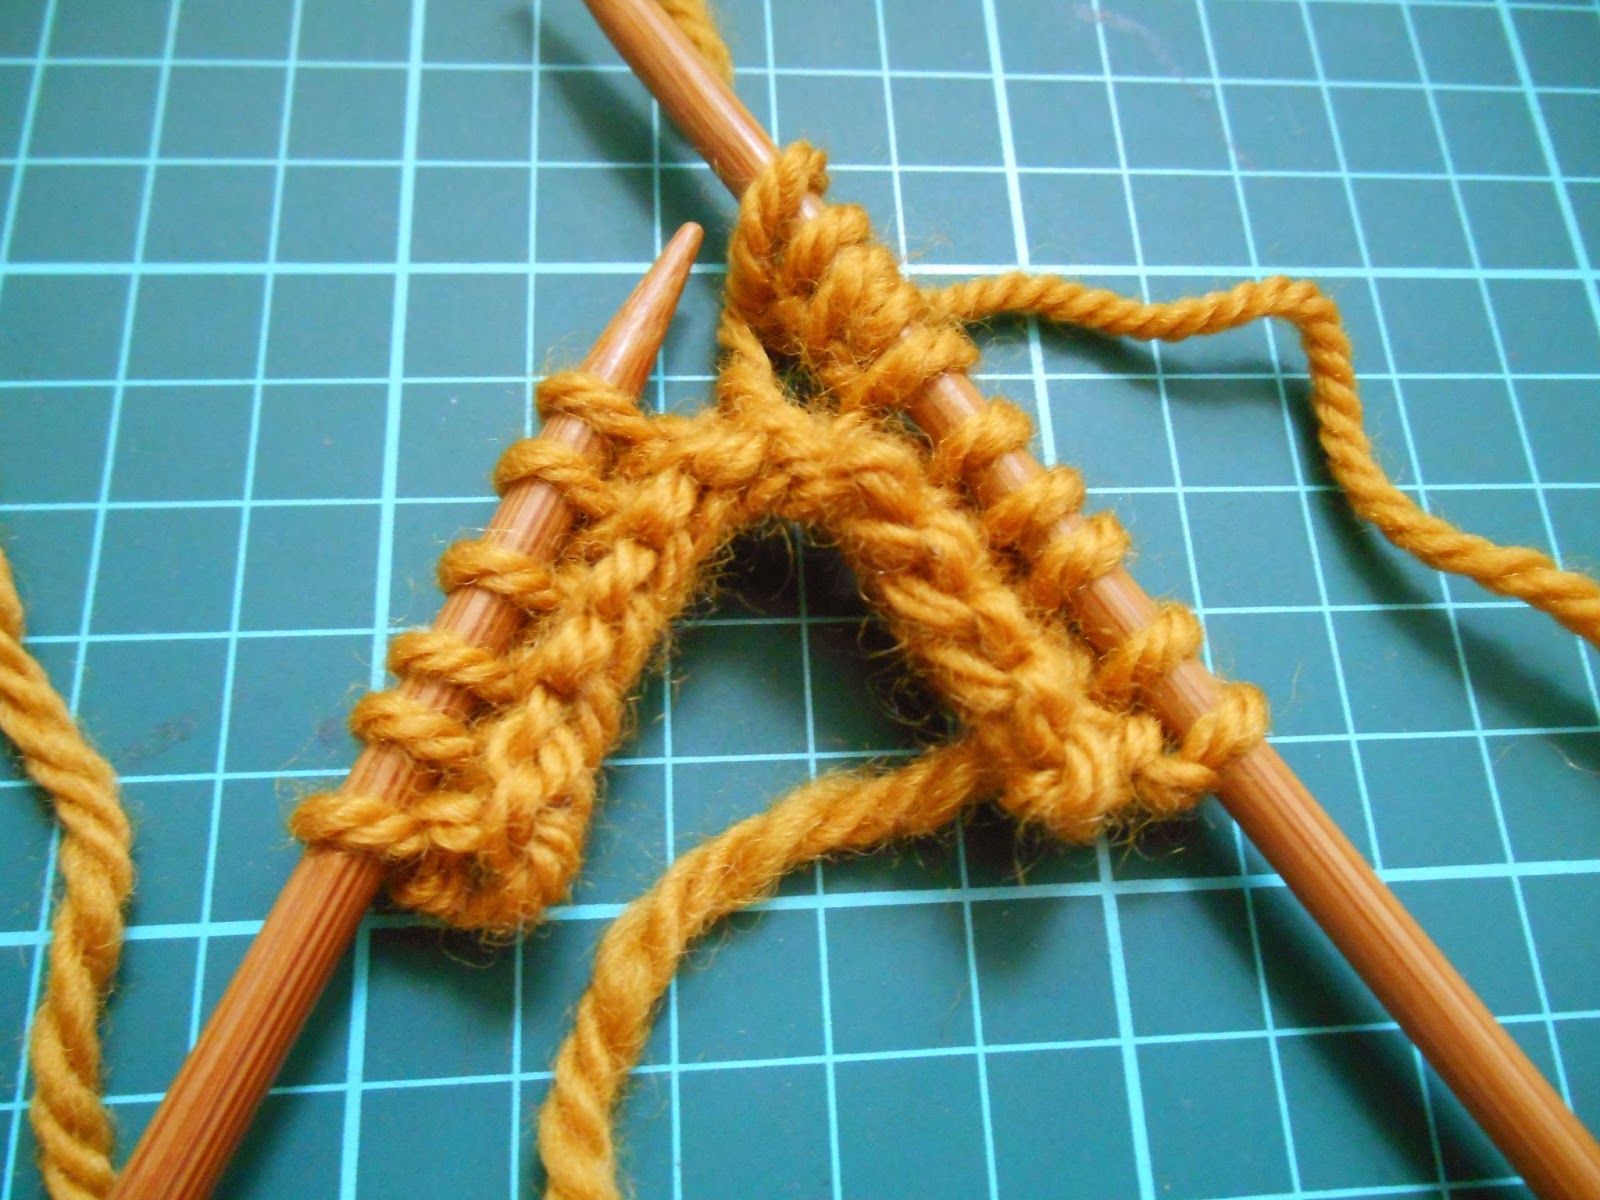
My latest pattern is a tubular cable cowl. Grafting is a very important part of the work for this piece, because it makes the pattern match for a perfect tubular finish. I was told by my test-knitters that it's difficult to find good ressources about grafting in pattern so I decided to give you a few tips, with a photo-tutorial and some links to great tutorials on grafting.
Mon dernier modèle est un col tubulaire fait de torsades. La technique du grafting est très importante dans cette pièce, parce qu'elle donne au col sa forme parfaite en respectant le motif. Plusieurs de mes test-knitters m'ont dit qu'il était difficile de trouver de bonnes ressources sur la technique du grafting en respectant le motif, alors j'ai décidé de vous donner quelques conseils, avec un tutoriel photo et quelques liens vers de bons tutorials sur le grafting.
First, some considerations about Grafting in stockinette stitch - Tout d'abord, quelques considérations sur le Grafting en jersey
If you have never done any grafting before, I highly recommend you to watch some video tutorial, there are some great ones on Youtube. Or I recommend you this tutorial on Knitty by Theresa Vinson Stenersen.
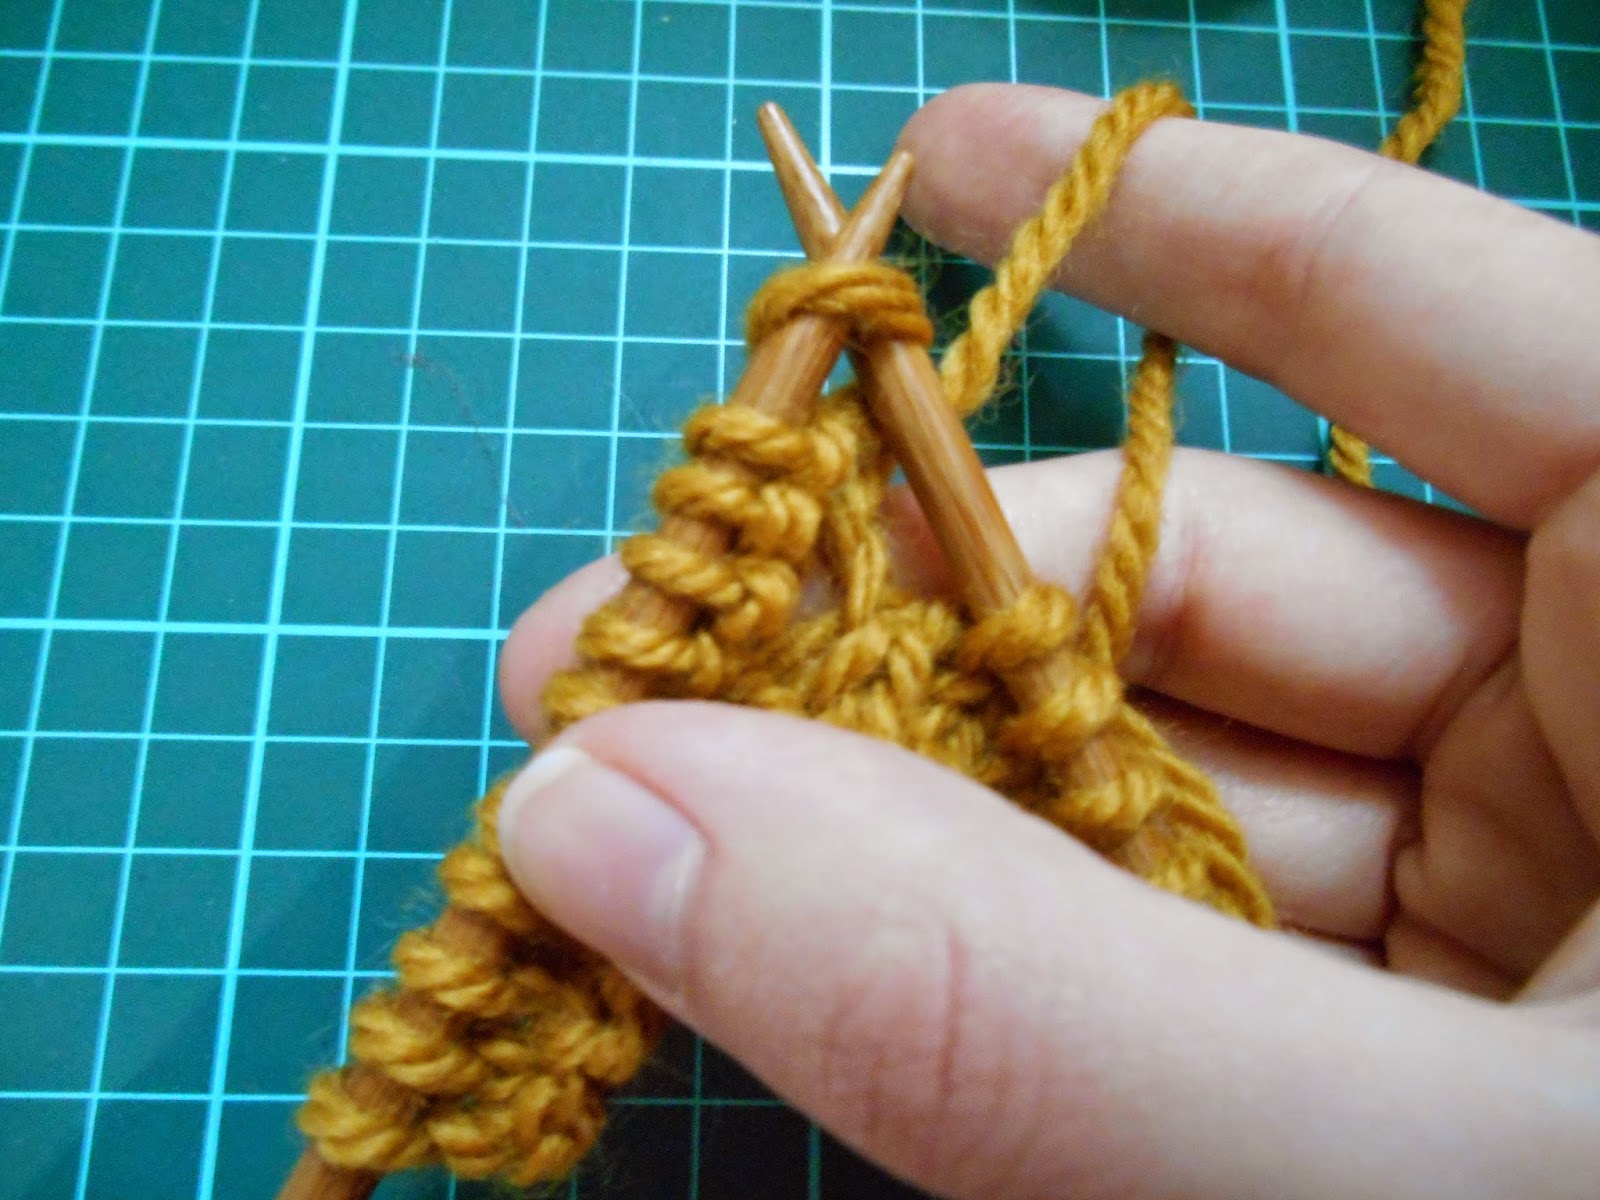
Put your two needle in a parallel position, with both tips in the same direction and the wrong side facing inwards.
Cut yarn leaving a very long thread and insert a yarn needle.
Set-up : Thread the yarn into the 1st stitch of the 1st needle as if to purl, then in the 1st stitch of the 2nd needle as if to knit
Step 1 (Needle 1) : Insert the yarn needle in the first stitch as if to knit and slip it off the needle, then thread the yarn into the 2nd stitch as if to purl.
Step 2 (Needle 2) : Insert the yarn needle in the first stitch as if to purl and slip it off the needle, then thread the yarn into the 2nd stitch as if to knit.
Repeat those two steps until you have only one stitch left on each needle.
Finishing : Insert the yarn needle in the 1st needle stitch as if to knit and slip it off the needle, then in the 2nd needle stitch af if to purl and slip it off the needle.
Si vous n'avez jamais pratiqué le grafting auparavant, je vous recommande chaudement de regarder des tutoriels vidéos, il y en a de très bons sur Youtube. Vous pouvez également vous référer à cet article écrit par Theresa Vinson Stenersen dans Knitty (en anglais).
Placez vos deux aiguilles de manière parallèle, avec les deux pointes du même côté et l’envers vers l’intérieur.
Coupez la laine en gardant un long fil et insérez une aiguille à laine.
Mise en place : Passez la laine dans la 1è maille de la 1è aiguille comme pour une maille envers, puis dans la première maille de la 2è aiguille comme pour une maille endroit
Etape 1 (Aiguille 1) : Insérez l’aiguille à laine dans la 1è maille comme pour une maille endroit et faites la glisser de l’aiguille, puis passez la dans la 2è maille comme pour une maille envers.
Etape 2 (Aiguille 2) : Insérez l’aiguille à laine dans la 1è maille comme pour une maille envers et faites la glisser de l’aiguille, puis passez la dans la 2è maille comme pour une maille endroit.
Répétez ces deux étapes jusqu’à avoir 1 seule maille sur chaque aiguille.
Finitions : Insérez l’aiguille à l’aine dans la maille de l’aiguille 1 comme pour une maille endroit et faites la glisser de l’aiguille, puis dans la maille de l’aiguille 2 comme pour une maille envers et faites la glisser de l’aiguille.
Grafting in pattern - Written memo - Le Grafting en respectant le motif - Mémo écrit
To graft in pattern, you need to be always be aware of what your next stitches are.
If they are 2 knit stitches :
Needle 1 : Sl1 off knitwise, thread the yarn purlwise into the 2nd stitch
Needle 2 : Sl1 off purlwise, thread the yarn knitwise into the 2nd stitch
If they are 1 knit stitch and 1 purl stitch :
Needle 1 : Sl1 off knitwise, thread the yarn knitwise into the 2nd stitch
Needle 2 : Sl1 off knitwise, thread the yarn purlwise into the 2nd stitch
If they are 2 purl stitches :
Needle 1 : Sl1 off purlwise, thread the yarn knitwise into the 2nd stitch
Needle 2 : Sl1 off knitwise, thread the yarn purlwise into the 2nd stitch
If they are 1 purl stitch and 1 knit stitch :
Needle 1 : Sl1 off purlwise, thread the yarn purlwise into the 2nd stitch
Needle 2 : Sl1 off purlwise, thread the yarn knitwise into the 2nd stitch
If you prefer a video, there's a good one here on youtube, made by Lucy Hague
Pour faire correspondre le motif, il faut toujours savoir ce que sont les deux prochaines mailles.
Si ce sont 2 mailles endroit :
Aiguille 1 : Glisser 1 endroit, passer la laine comme pour une maille envers dans la 2è maille
Aiguille 2 : Glisser 1 envers, passer la laine comme pour une maille endroit dans la 2è maille
Si ce sont 1 m. end. et 1 m. env. :
Aiguille 1 : Glisser 1 endroit, passer la laine comme pour une maille endroit dans la 2è maille
Aiguille 2 : Glisser 1 endroit, passer la laine comme pour une maille envers dans la 2è maille
Si ce sont 2 mailles envers :
Aiguille 1 : Glisser 1 envers, passer la laine comme pour une maille endroit dans la 2è maille
Aiguille 2 : Glisser 1 endroit, passer la laine comme pour une maille envers dans la 2è maille
Si ce sont 1 m. env. et 1 m. end. :
Aiguille 1 : Glisser 1 envers, passer la laine comme pour une maille envers dans la 2è maille
Aiguille 2 : Glisser 1 envers, passer la laine comme pour une maille endroit dans la 2è maille
Grafting in pattern - Photo-tutorial - Le Grafting en respectant le motif - Tutoriel photo

For this tutorial, you need 2 pieces to graft (or one large piece of knitting with 2 ends to graft if you did a provisionnal cast-on). I used a different thread and a different color of yarn for this tutorial but you should use the same color as your work so the seam is completely invisible.
I made 2 similar samples to graft, with knit and purl stitches and 2 small cables to show you how the pattern matches after grafting.
Pour ce tutoriel, il vous faut deux pièces à joindre (ou une grande pièce avec deux côtés à rejoindre si vous avez fait un montage de mailles provisoires). J'ai utilisé un fil de couleur différente pour ce tutoriel, mais vous devriez utiliser la même couleur que celle de votre ouvrage pour une jointure complètement invisible.
J'ai fait deux pièces similaires à rejoindre, avec des mailles endroit et envers et 2 petites torsades pour vous montrer comment le motif correspond à la fin.


Put your two needle in a parallel position, with both tips in the same direction and the wrong side facing inwards.
Placez vos deux aiguilles de manière parallèle, avec les deux pointes du même côté et l’envers vers l’intérieur.
Set-up (Knit stitch) - Mise en place (Maille endroit)
Note : If your first stitch is a Purl stitch, do the exact opposite (Needle 1 knit, Needle 2 purl)
Note : Si votre première maille est une maille envers, faite l'opposé exact (Aiguille 1 endroit, Aiguille 2 envers)


Needle 1 : Thread the yarn purlwise into the stitch
Aiguille 1 : Passer la laine comme pour une maille envers dans la maille


Needle 2 : Thread the yarn knitwise into the stitch
Aiguille 2 : Passer la laine comme pour une maille endroit dans la maille
For 2 following knit stitches - Pour 2 mailles endroit consécutives

Needle 1 : Sl1 off knitwise,
Aiguille 1 : Glisser 1 endroit,


thread the yarn purlwise into the 2nd stitch
passer la laine comme pour une maille envers dans la 2è maille

Needle 2 : Sl1 off purlwise,
Aiguille 2 : Glisser 1 envers,


thread the yarn knitwise into the 2nd stitch
passer la laine comme pour une maille endroit dans la 2è maille
For 1 knit stitch and 1 purl stitch - Pour 1 maille endroit et 1 maille envers


Needle 1 : Sl1 off knitwise,
Aiguille 1 : Glisser 1 endroit,


thread the yarn knitwise into the 2nd stitch
passer la laine comme pour une maille endroit dans la 2è maille

Needle 2 : Sl1 off knitwise,
Aiguille 2 : Glisser 1 endroit,


thread the yarn purlwise into the 2nd stitch
passer la laine comme pour une maille envers dans la 2è maille
For 2 following purl stitches - Pour 2 mailles envers consécutives


Needle 1 : Sl1 off purlwise,
Aiguille 1 : Glisser 1 envers,


thread the yarn knitwise into the 2nd stitch
passer la laine comme pour une maille endroit dans la 2è maille

Needle 2 : Sl1 off knitwise,
Aiguille 2 : Glisser 1 endroit,


thread the yarn purlwise into the 2nd stitch
passer la laine comme pour une maille envers dans la 2è maille
For 1 purl stitch and 1 knit stitch - Pour 1 maille envers et 1 maille endroit


Needle 1 : Sl1 off purlwise,
Aiguille 1 : Glisser 1 envers,

thread the yarn purlwise into the 2nd stitch
passer la laine comme pour une maille envers dans la 2è maille

Needle 2 : Sl1 off purlwise,
Aiguille 2 : Glisser 1 envers,
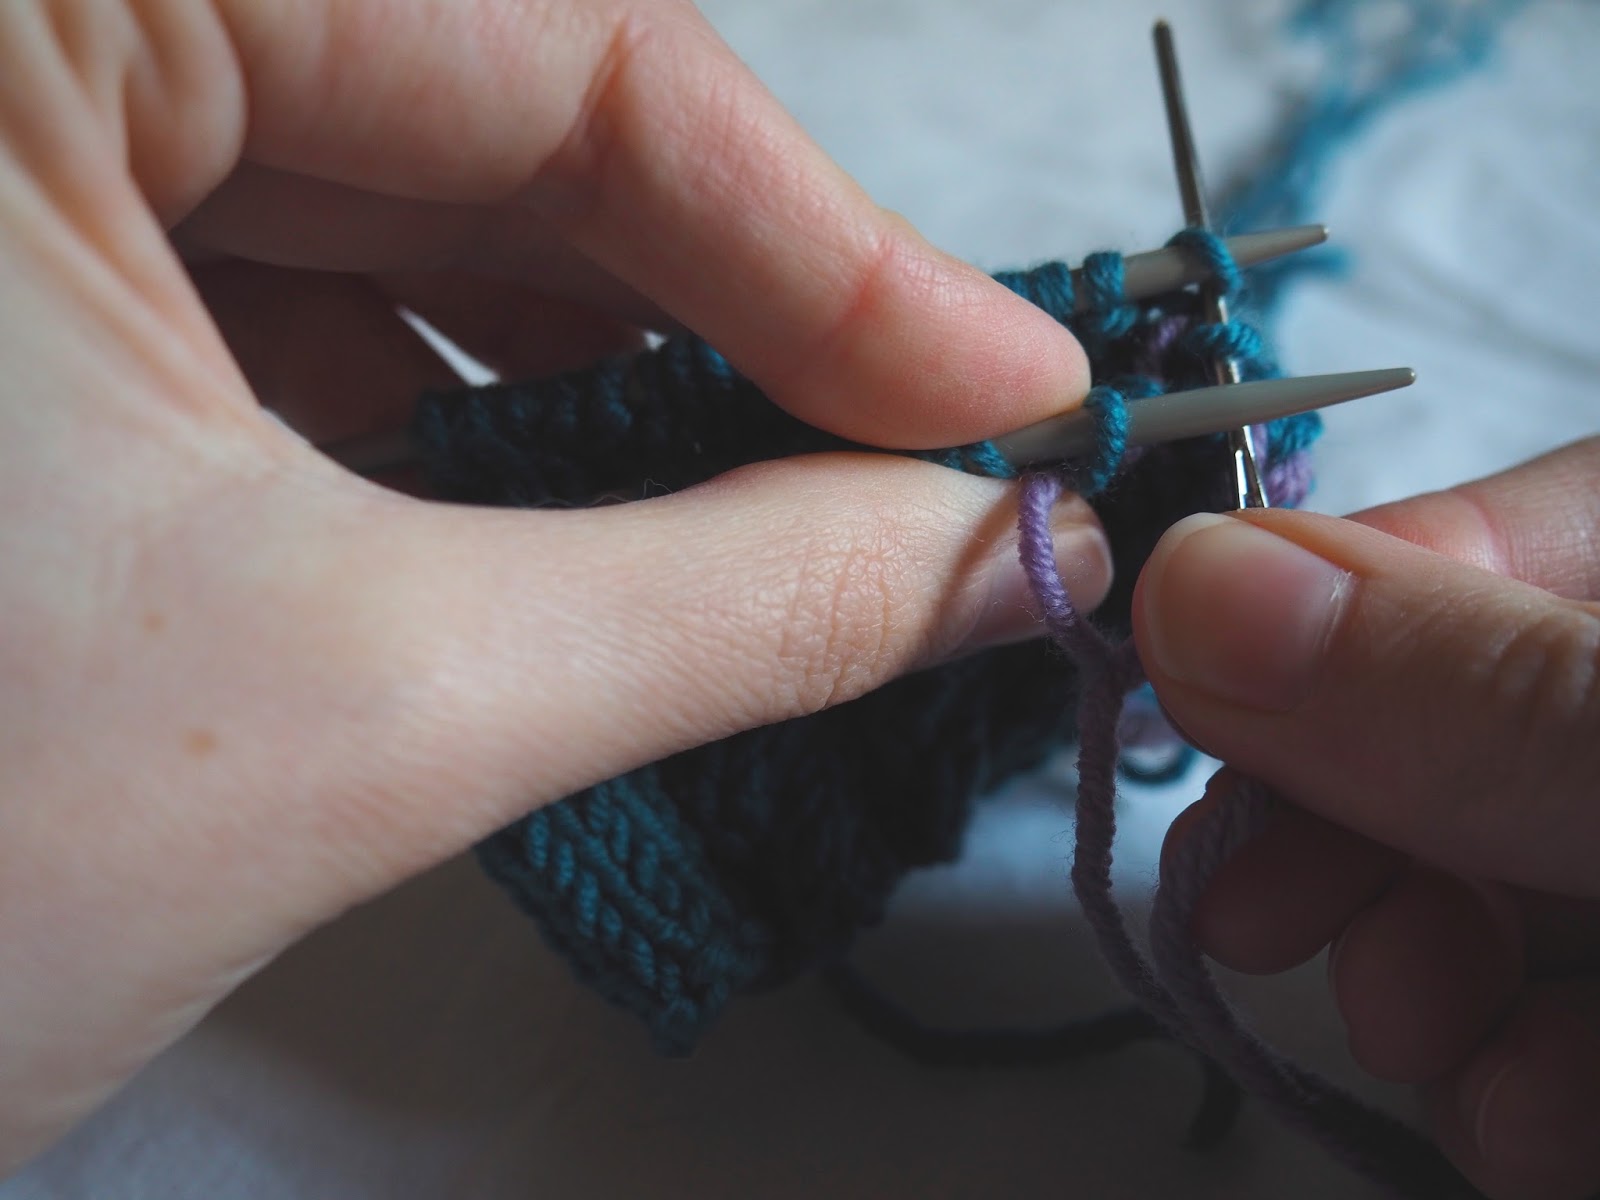
thread the yarn knitwise into the 2nd stitch
passer la laine comme pour une maille endroit dans la 2è maille

And you can see that apart from my color difference, the pattern matches exactly!
Et vous pouvez voir que mise à part ma différence de couleurs, le motif correspond exactement !
If you have some questions about this, please feel free to ask and I'll do my best to answer.
Happy knitting everyone!
Si vous avez des questions, n'hésitez pas, je ferai de mon mieux pour vous répondre.
Bon tricot à toutes !